Introduction to Simple Vintage Cake
Discovering the Charm of Vintage Cakes
Have you ever been whisked away by the sweet nostalgia that only a simple vintage cake can evoke? These delightful desserts harken back to simpler times when gatherings centered around homemade treats baked with love. They embody a warmth and charm that makes every slice a trip down memory lane, filled with the laughter and joy of family celebrations.
The beauty of a vintage cake lies not only in its rich, comforting flavors but also in its uncomplicated nature. Made with simple ingredients and straightforward techniques, these cakes offer a direct connection to our culinary heritage. As reported by the American Baking Guild, there’s something truly special about a cake that doesn’t rely on fancy decorations or intricate techniques. It’s all about celebrating the quality of the ingredients and the love put into making it.
What makes this simple vintage cake so appealing is its versatility. Whether you’re enjoying a classic vanilla version or a spiced carrot cake, each recipe tells a story. Some vintage cakes even carry family recipes passed down through generations, making them a joyful part of our gatherings. I can still remember the smell of my grandmother’s kitchen as she mixed her famous cake batter—it was a comforting routine that brought us together.
The process of baking a vintage cake is undeniably rewarding. You might be surprised by how quickly it comes together. With just a handful of pantry staples—like flour, sugar, eggs, and butter—you can create a delectable dessert that’s perfect for any occasion. Beautifully rustic and deceptively simple, a vintage cake often requires minimal prep time, which means more moments to connect with your loved ones over a slice.
In our upcoming recipe, we’ll guide you through making your very own simple vintage cake, using easily accessible ingredients while keeping the process straightforward. We’ll share tips to ensure your cake achieves that perfect homemade touch, making it ideal for everything from afternoon tea to festive celebrations.
Ready to dive in? Let’s bring a piece of nostalgia to your kitchen!
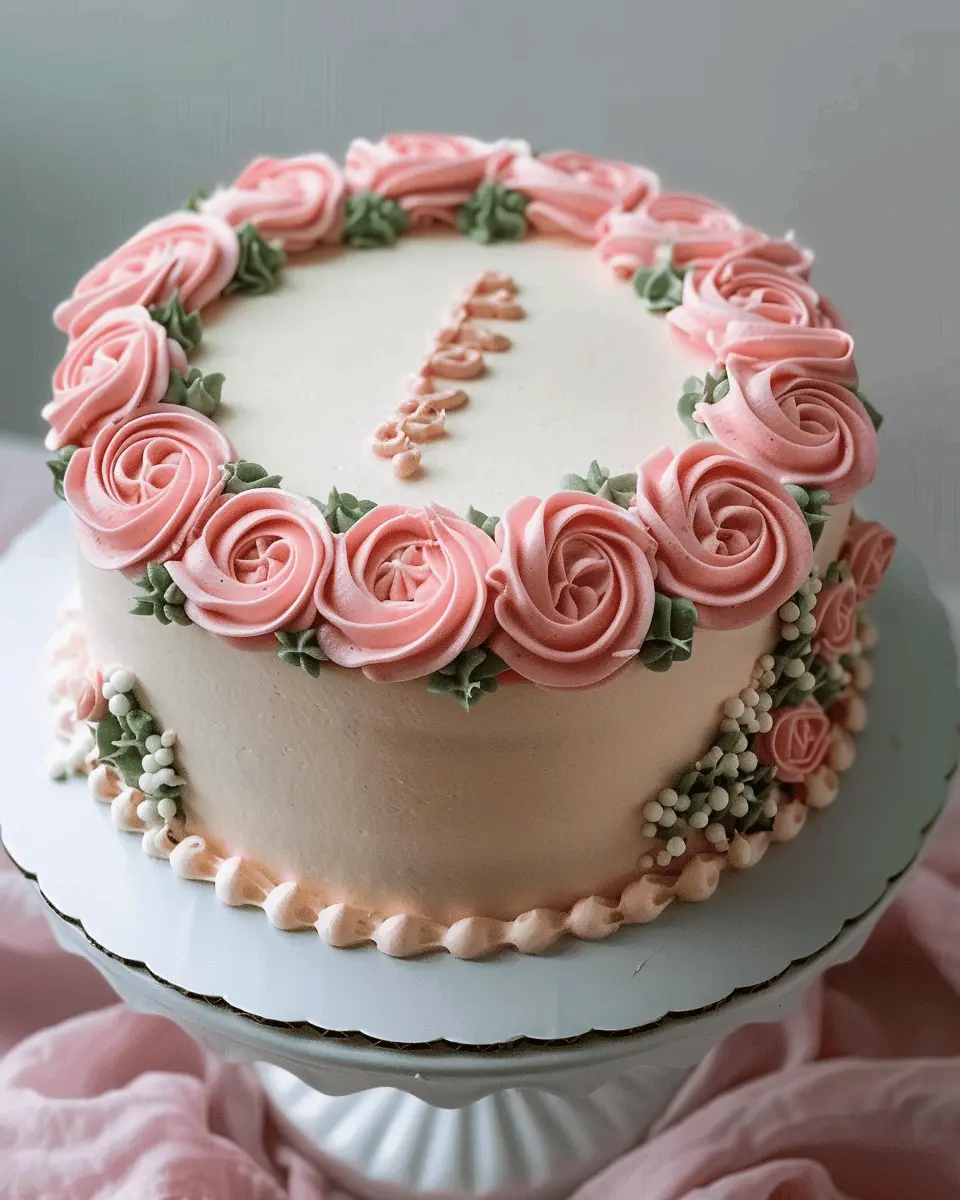
Ingredients for Simple Vintage Cake
Essential ingredients for your vintage creation
Baking a simple vintage cake is a delightful way to bring nostalgia into your kitchen. The ingredients are straightforward and accessible, making it perfect for both seasoned bakers and aspiring cooks alike. Here’s what you’ll need to gather for this charming treat:
- 2 cups all-purpose flour – This forms the cake’s backbone.
- 1 ½ cups granulated sugar – For that classic sweetness.
- 1 cup unsalted butter, softened – Enhances flavor and texture.
- 4 large eggs – Provide structure and moisture.
- 1 cup milk – Balances the dry ingredients and keeps the cake moist.
- 2 teaspoons baking powder – Helps your cake rise beautifully.
- 1 teaspoon vanilla extract – A must for that aromatic essence.
- Pinch of salt – Balances the sweet notes.
Ready to embark on your baking adventure? Don’t forget, a simple vintage cake can be dressed up with various frostings and toppings, so let your creativity flow! For some great frosting ideas, check out this guide.
Happy baking!
Preparing Simple Vintage Cake
Baking a simple vintage cake can feel like unlocking a time capsule of flavors and memories. With its delightful layers and creamy buttercream, it’s the kind of cake that’ll make you reminisce about cherished family gatherings or cozy tea parties. Let’s dive into how you can prepare this scrumptious treat with ease.
Gather Your Baking Essentials
Before we roll up our sleeves and get started, it’s important to have everything you need at your fingertips. Here’s a handy checklist for your baking essentials:
-
Ingredients:
-
2 cups all-purpose flour
-
1 ½ cups granulated sugar
-
½ cup unsalted butter, softened
-
1 cup milk
-
3 eggs
-
2 teaspoons baking powder
-
1 teaspoon vanilla extract
-
A pinch of salt
-
Tools:
-
Mixing bowls
-
Whisk or electric mixer
-
Measuring cups and spoons
-
Spatula
-
Cake pans (9-inch round recommended)
-
Parchment paper
-
Offset spatula for frosting
Having everything ready means you’ll have a smooth baking experience. Trust me, it’s best not to be rummaging through cupboards while your batter awaits!
Crumb Coat and Chill Your Cake
Once you’ve mixed your ingredients and baked the cake, it’s time to prepare for the frosting stage. A crumb coat is essentially a thin layer of frosting that helps trap the crumbs and create a clean finish. Here’s how to do it:
- Allow your cake layers to cool completely.
- Place one layer on a cake stand or plate and spread a thin layer of buttercream over the top.
- Add the second layer on top, repeating the process.
- Apply a light coat of buttercream over the sides and top of the entire cake.
This step is crucial; it helps create a clean canvas for your frosting. Once covered, pop the cake into the fridge for at least 30 minutes. This chilling time allows the crumb coat to set.
Create the Buttercream Border
While your cake is chilling, it’s time to make the buttercream. A basic vanilla buttercream can elevate your simple vintage cake to new heights.
To create the buttercream, you’ll need:
- 1 cup unsalted butter, softened
- 4 cups powdered sugar
- 2-3 tablespoons milk
- 1 teaspoon vanilla extract
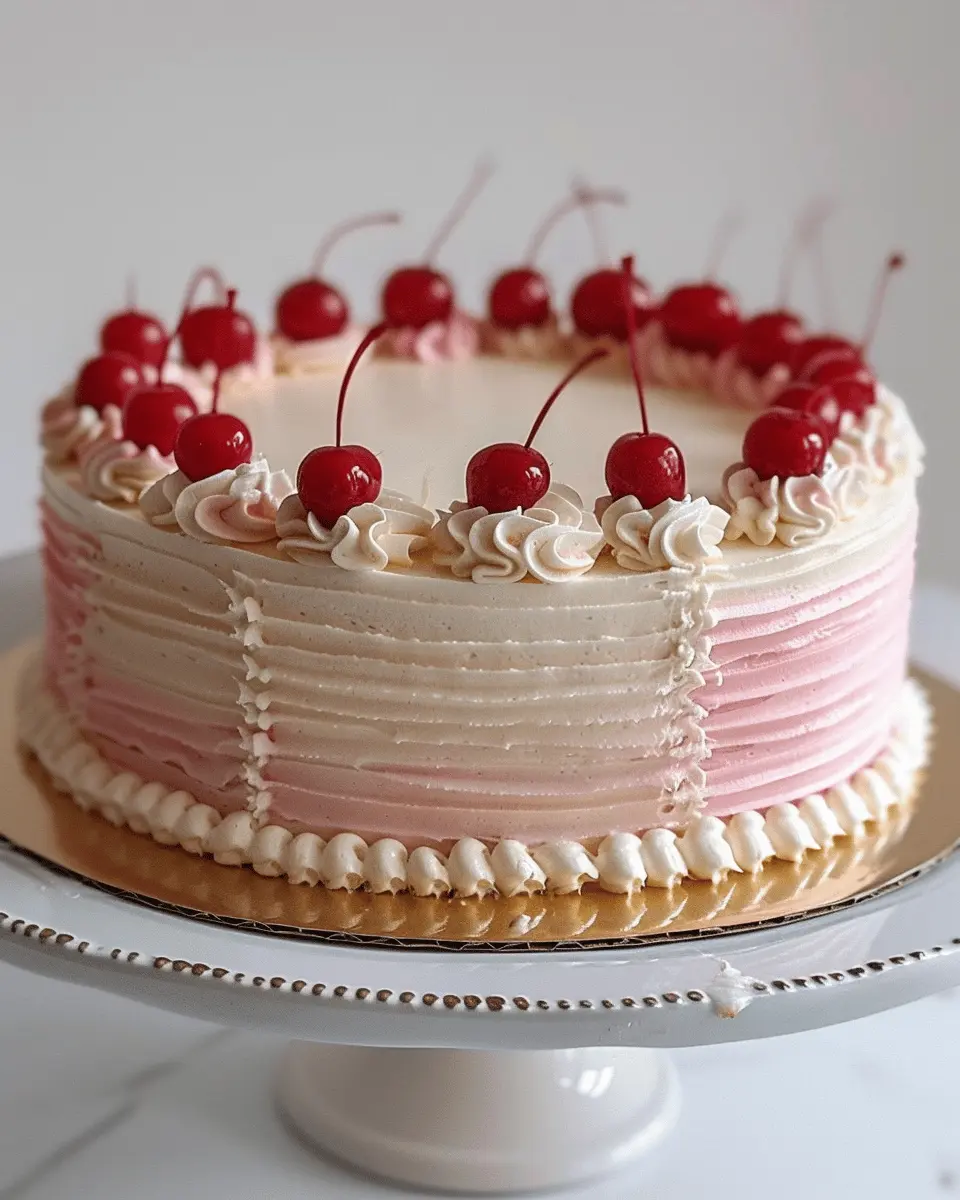
Simply mix these ingredients until the buttercream is smooth and fluffy. Once your cake has chilled, use a piping bag fitted with your preferred tip to create a decorative border around the top of the cake. Not only does this add a professional touch, but it also provides a delightful texture contrast with each slice!
Prepare Chocolate Letters
To give your cake a personal touch, why not prepare some chocolate letters? These are simple yet effective in making your cake memorable.
You’ll need:
- 1 cup of chocolate chips
- Letter-shaped silicone molds (or you can create a stencil)
Melt the chocolate in a microwave or on a double boiler, then carefully pour it into the molds. Let them cool and harden. Once set, you can easily pop them out and place them atop your cake as a creative touch—maybe spelling out “Happy Birthday” or “Congrats” for that special occasion.
Assemble and Decorate Your Cake
Now comes the fun part—assembling and decorating your simple vintage cake!
- Place your crumb-coated cake on a serving platter.
- Once satisfied with your buttercream border, layer chocolate letters elegantly on top.
- You can further embellish your masterpiece with fresh berries, edible flowers, or even a drizzle of chocolate ganache for extra flair!
Remember, decorating is an art, and there are no hard rules—let your creativity flow. And the best part? You get to enjoy the fruits of your labor with friends, family, or even a cozy night in binge-watching your favorite shows.
Baking a vintage cake doesn’t have to be overwhelming. With these simple yet effective steps, you’re not just following a recipe; you’re creating sweet memories. If you’re feeling inspired, why not check this detailed buttercream guide for more tips? Your cake will surely be a hit!
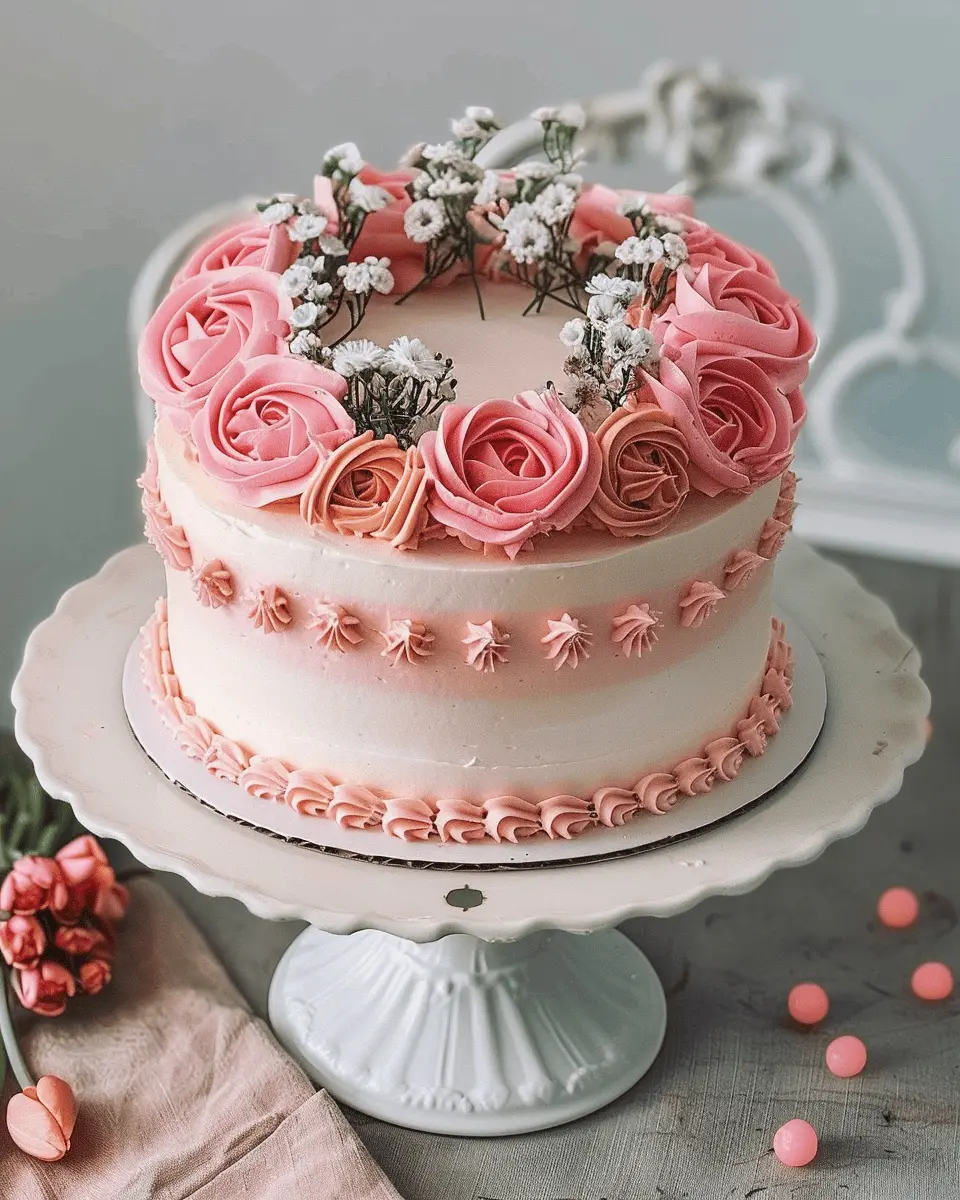
Variations on Simple Vintage Cake
When it comes to the delightfully nostalgic simple vintage cake, there are countless ways to put a unique twist on this classic dessert. Whether you’re planning a cozy gathering or just want a little sweetness in your week, these variations cater to all tastes.
Classic Vanilla Vintage Cake
Let’s start with the most cherished version—the classic vanilla vintage cake. This version boasts a soft, buttery crumb with the rich flavor of real vanilla. Here’s how to make it shine:
- Use high-quality vanilla extract: The difference is phenomenal, offering a depth of flavor that pure imitation can’t rival.
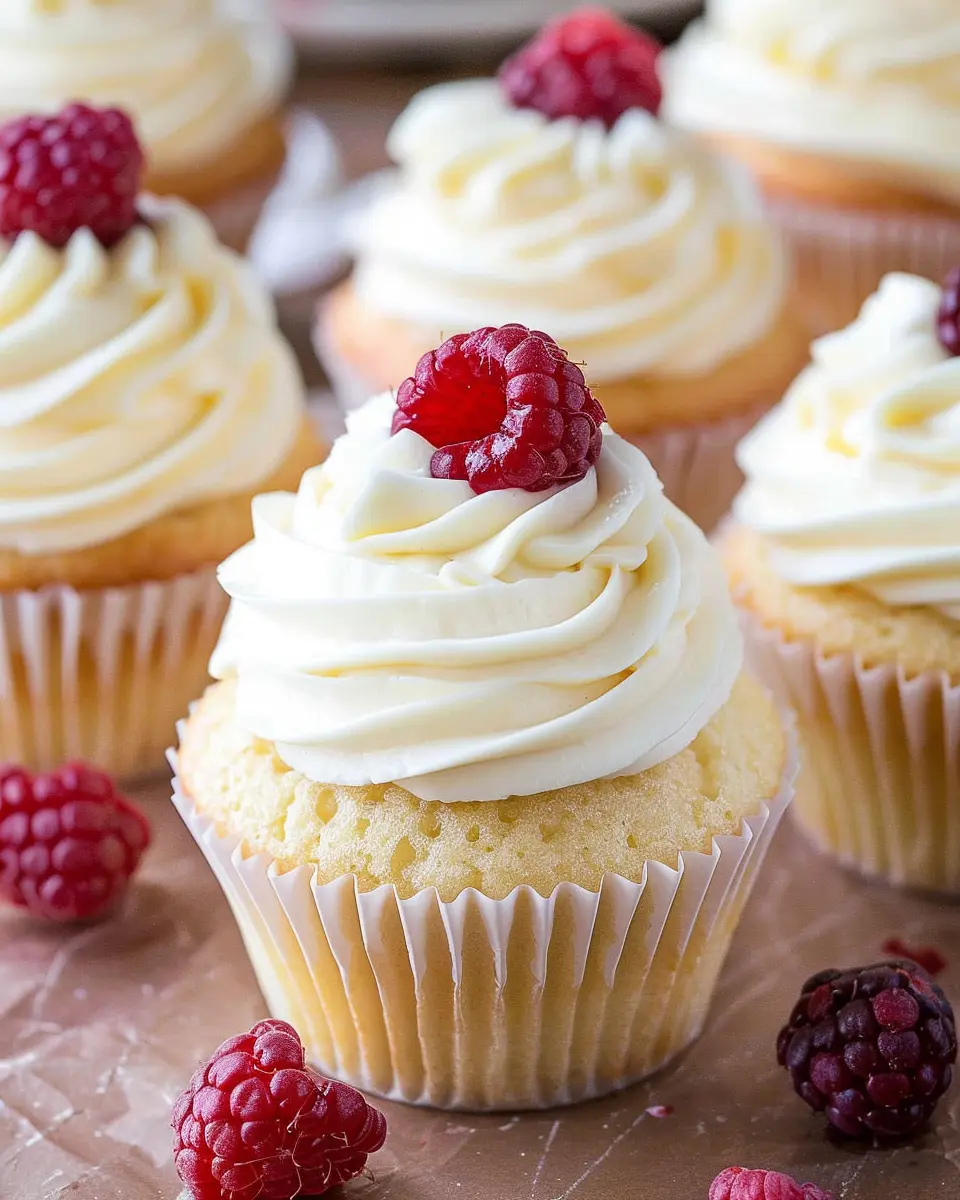
- Frost with buttercream: A light and fluffy vanilla buttercream elevates this cake to another level.
- Serve with fresh berries: This classic pairing not only enhances the taste but adds a pop of color.
In case you’re looking for a great source on choosing the best vanilla, check out this guide from Bon Appétit.
Lemon-Infused Vintage Cake
For those who crave a zesty twist, try a lemon-infused vintage cake. This delightful variation brightens up the classic recipe with a refreshing citrus flavor. Here’s a simple way to incorporate lemon:
- Add lemon zest: A tablespoon or two will imbue the cake with a fragrant aroma and sophisticated taste.
- Include fresh lemon juice: Substitute some of the liquid in the recipe with lemon juice for an extra burst of flavor.
- Top with a lemon glaze or frosting: A light glaze lends sweetness without overpowering the bright notes.
What’s your favorite twist on a classic dessert? Let these ideas inspire you to create your own version of a simple vintage cake that suits your taste!
Baking Notes for Simple Vintage Cake
Baking a simple vintage cake is more than just following a recipe; it’s about creating a delightful experience in your kitchen. To ensure your cake turns out beautifully, here are some practical tips.
Tips for a Successful Crumb Coat
The crumb coat is a thin layer of frosting that seals in the crumbs, ensuring a clean finish when you apply the final coat. Here are some key pointers:
-
Chill Your Cake Layers: Before frosting, pop your cake layers in the freezer for about 20 minutes. This helps minimize crumbs and makes handling them easier.
-
Use a Thin Layer of Frosting: Spread a light layer of your favorite frosting (cream cheese or buttercream works wonderfully) to trap the crumbs without creating a heavy coat.
-
Smooth it Out: Use an offset spatula or a bench scraper to achieve a smooth finish. Don’t worry about it being perfect; this layer is just a foundation.
-
Refrigerate After Coating: Let your crumb-coated cake chill for about 30 minutes. This sets the frosting and makes it easier to apply the final coat.
With these tips, your simple vintage cake will have a professional-looking finish! For even more icing ideas, check out resources from sites like King Arthur Baking and Bon Appétit. Happy baking!
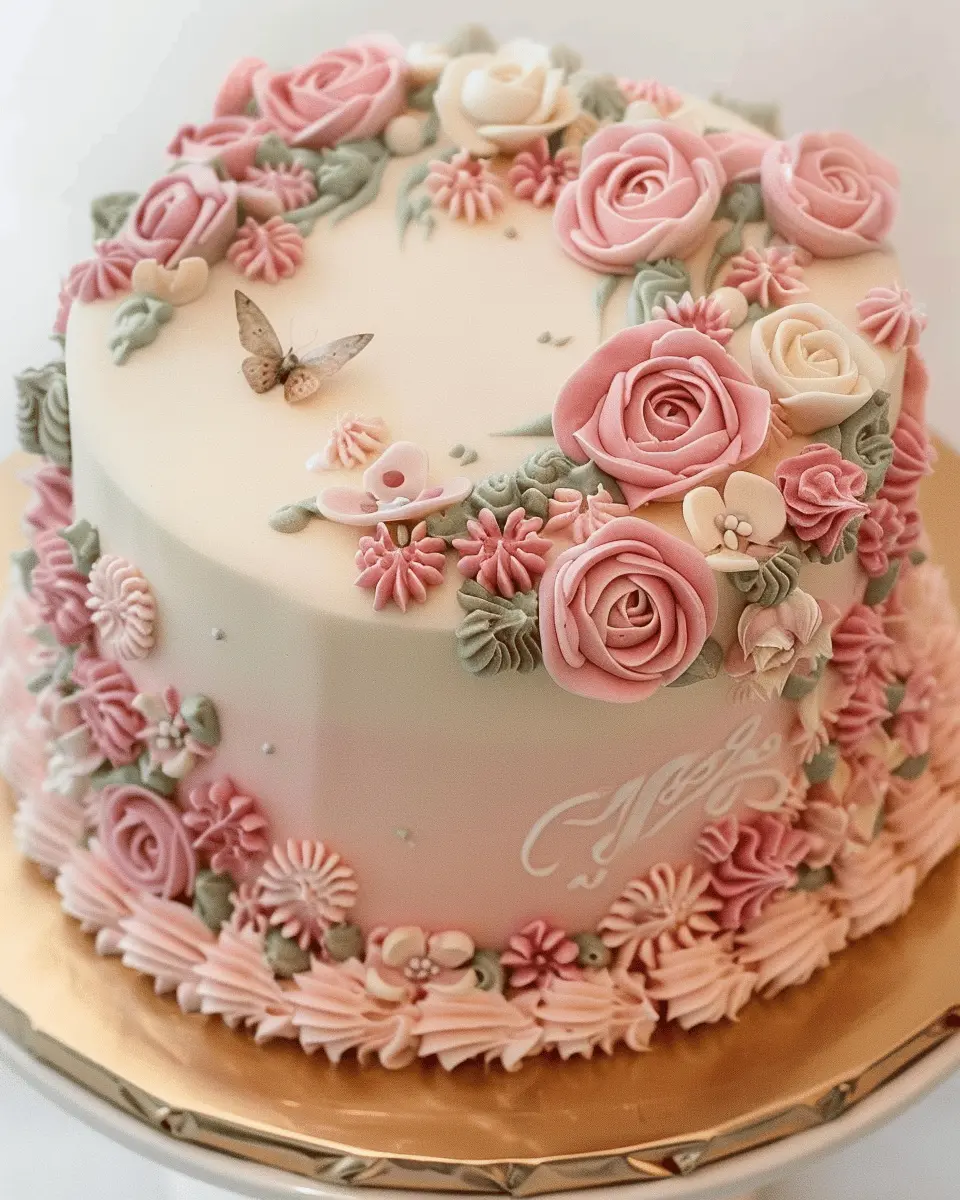
Serving suggestions for Simple Vintage Cake
Pairing Your Cake with Delightful Accompaniments
When it comes to your simple vintage cake, the right accompaniments can elevate this delightful dessert to new heights. Here are some creative ideas to enhance your serving experience:
-
Fresh Berries: A medley of strawberries, blueberries, and raspberries not only adds a pop of color but also complements the sweetness of the cake with a touch of tartness.
-
Whipped Cream: Light and airy whipped cream provides a luxurious texture that pairs beautifully with every slice. A hint of vanilla or a sprinkle of nutmeg can add flair.
-
Citrus Glaze: A simple lemon or orange glaze drizzled over the cake adds a zesty kick that contrasts nicely with its richness.
-
Herbal Tea: Consider serving your simple vintage cake alongside a warm cup of herbal tea. Chamomile or peppermint tea brings soothing flavors that can balance the sugary notes perfectly.
-
Ice Cream: A scoop of vanilla or even a tangy sorbet can turn your cake into a delightful sundae experience.
For more pairing inspiration, check out this helpful article that dives deeper into dessert accompaniments.
Tips for Perfecting Simple Vintage Cake
Common Mistakes to Avoid
When making your simple vintage cake, there are a few blunders that can turn your masterpiece into a flop. A common misconception is not measuring flour correctly; using packed flour can lead to a dense cake instead of a light and airy one. Always use the spoon-and-level method for the most accurate measurements.
Another pitfall is overmixing the batter. It’s tempting to ensure everything is thoroughly combined, but overmixing can produce a tough cake. Gently fold in the ingredients until just combined.
Tricks to Enhance Flavor and Texture
To elevate your simple vintage cake, consider these tips. Start with high-quality ingredients; fresh eggs and real vanilla extract can make a dramatic difference in taste. Adding a touch of sour cream or yogurt can also enhance moisture and create a tender crumb, giving your cake a professional touch.
Don’t shy away from experimenting with flavors! A hint of almond extract can add a nostalgic twist, reminiscent of classic family recipes. Also, if you have the time, letting your cake cool completely before decorating allows the flavors to meld beautifully.
For a delightful finishing touch, consider dusting your cake with powdered sugar or serving it with fresh berries. If you’re eager to dive deeper into cake making, check out this baking guide for inspiration on flavor combinations and techniques.
With these tips, you’ll have a simple vintage cake that not only looks stunning but also captures the essence of cherished times gone by!
Time details for Simple Vintage Cake
When you’re ready to whip up a delicious simple vintage cake, it’s helpful to know how much time you’ll need. Let’s break it down!
Preparation time
Getting everything in place will take about 20 minutes. This includes measuring your ingredients and mixing the batter. It’s the perfect time to cue up your favorite playlist and get in the baking spirit!
Baking time
Once your batter is ready, let it bake in the oven for approximately 30 minutes. Keep an eye on it as it transforms into a beautiful golden cake.
Total time
All in all, you’re looking at around 50 minutes from start to finish. Quick, right? This makes the simple vintage cake not just a treat, but also a convenient option for a last-minute gathering or sweet craving. For tips on timing your cake perfectly, check out The Spruce Eats. Happy baking!
Nutritional Information for Simple Vintage Cake
When you’re indulging in a slice of simple vintage cake, it’s good to be mindful of what you’re enjoying. Here’s a quick breakdown of the nutritional information to help you make informed choices.
Calories
A single serving of simple vintage cake typically contains around 250 calories. This can vary based on portion size and any toppings you might choose to add.
Sugar Content
With approximately 20 grams of sugar per slice, the sweetness is delightful but should be savored in moderation, especially if you’re keeping an eye on your sugar intake.
Carbohydrates
You’ll find about 35 grams of carbohydrates in each serving. This is primarily from flour and sugar, providing that satisfying energy boost. Remember to balance it with plenty of fruits and veggies throughout your day!
If you’re interested in creating a healthier version of this vintage delight, consider checking out resources like Healthline for tips on ingredient substitutions and more nutritional insights. Making mindful choices doesn’t mean compromising on flavor!
FAQs about Simple Vintage Cake
What is a vintage cake?
A vintage cake is more than just a dessert; it’s a nostalgic tribute to the classic flavors and baking techniques of years gone by. Typically characterized by rich, buttery textures and delightful flavor combinations, a simple vintage cake often evokes memories of family gatherings and childhood celebrations. Think of moist layers of vanilla or chocolate cake, frosted with creamy buttercream or adorned with fresh fruits. If you’re interested in diving deeper into cake history, this article on vintage desserts provides fascinating insights.
Can I substitute ingredients in this recipe?
Absolutely! One of the joys of baking is adapting recipes to fit your pantry and taste preferences. Here are a few common substitutions for your simple vintage cake:
- Flour: You can swap all-purpose flour for cake flour for a lighter texture.
- Sugar: Try using brown sugar instead of granulated sugar for a deeper, caramel-like flavor.
- Butter: If you’re out of butter, vegetable oil or coconut oil can work in a pinch.
Just remember, the consistency may vary slightly depending on the substitutions, so keep an eye on the batter!
How do I store leftover vintage cake?
Storing your simple vintage cake properly can help maintain its freshness. Follow these tips:
- Room Temperature: If you plan to eat it within a couple of days, wrap it in plastic wrap and store it in a cool, dry place.
- Refrigeration: For longer storage, refrigerate wrapped slices. Just let them come to room temperature before enjoying!
- Freezing: You can also freeze slices in an airtight container for up to three months. Just thaw before serving.
With these tips, your simple vintage cake will remain delicious for days to come!
Conclusion on Simple Vintage Cake
Celebrating homemade baking with a vintage twist
Baking a simple vintage cake is more than just creating a delicious dessert; it’s about savoring the joy of homemade goodness. Each slice embodies nostalgia, making it perfect for celebrations or casual gatherings. This recipe invites you to channel your inner baker, experimenting while keeping traditions alive.
Remember, there’s no right or wrong way to bake; the heart of it is in the process. So, gather your loved ones, share this cake, and maybe even start your own family tradition! For more vintage-inspired recipes, check out resources like BBC Good Food and Food Network. Happy baking!
PrintSimple Vintage Cake: The Best Recipe for Comforting Nostalgia
A delightful recipe that brings back comforting memories with a vintage twist.
- Prep Time: 15 minutes
- Cook Time: 30 minutes
- Total Time: 45 minutes
- Yield: 12 servings 1x
- Category: Dessert
- Method: Baking
- Cuisine: American
- Diet: Vegetarian
Ingredients
- 2 cups all-purpose flour
- 1 cup granulated sugar
- 1/2 cup unsalted butter, softened
- 1 cup whole milk
- 3 large eggs
- 2 tsp baking powder
- 1 tsp vanilla extract
- 1/2 tsp salt
Instructions
- Preheat your oven to 350°F (175°C).
- In a mixing bowl, cream together the butter and sugar until light and fluffy.
- Add the eggs one at a time, mixing well after each addition.
- Stir in the vanilla extract.
- In another bowl, combine the flour, baking powder, and salt.
- Gradually add the dry ingredients to the wet mixture, alternating with the milk, starting and ending with the flour.
- Mix until just combined.
- Pour the batter into a greased cake pan and smooth the top.
- Bake for 25-30 minutes or until a toothpick inserted comes out clean.
- Let cool in the pan for 10 minutes before transferring to a wire rack.
Notes
- For extra flavor, add lemon zest to the batter.
- Dust the cooled cake with powdered sugar for a classic finish.
Nutrition
- Serving Size: 1 slice
- Calories: 250
- Sugar: 15g
- Sodium: 180mg
- Fat: 10g
- Saturated Fat: 6g
- Unsaturated Fat: 3g
- Trans Fat: 0g
- Carbohydrates: 35g
- Fiber: 1g
- Protein: 4g
- Cholesterol: 60mg
Keywords: Simple Vintage Cake, nostalgic cake, classic cake recipe

