Introduction to Dutch Oven French Bread
What is Dutch Oven French Bread and why should you try it?
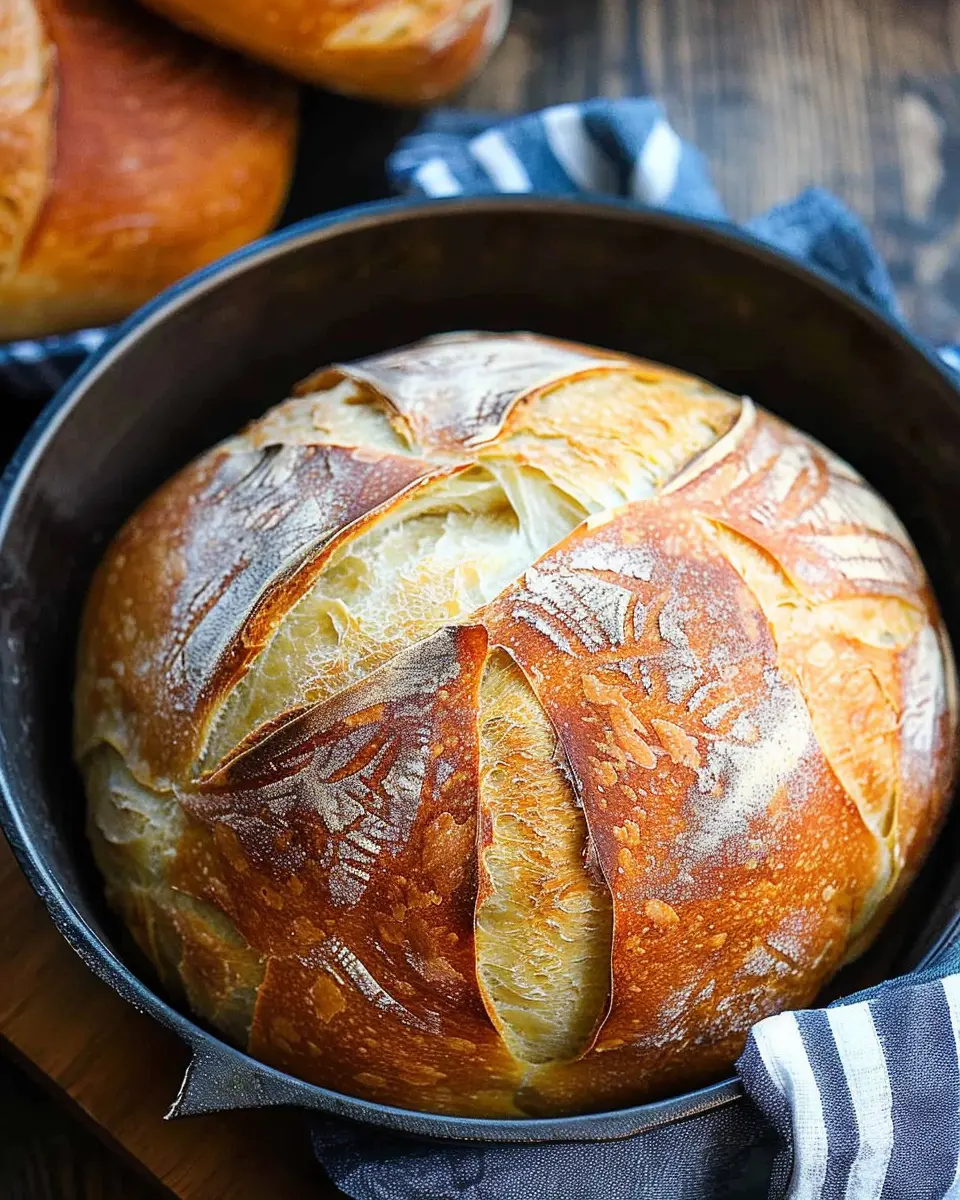
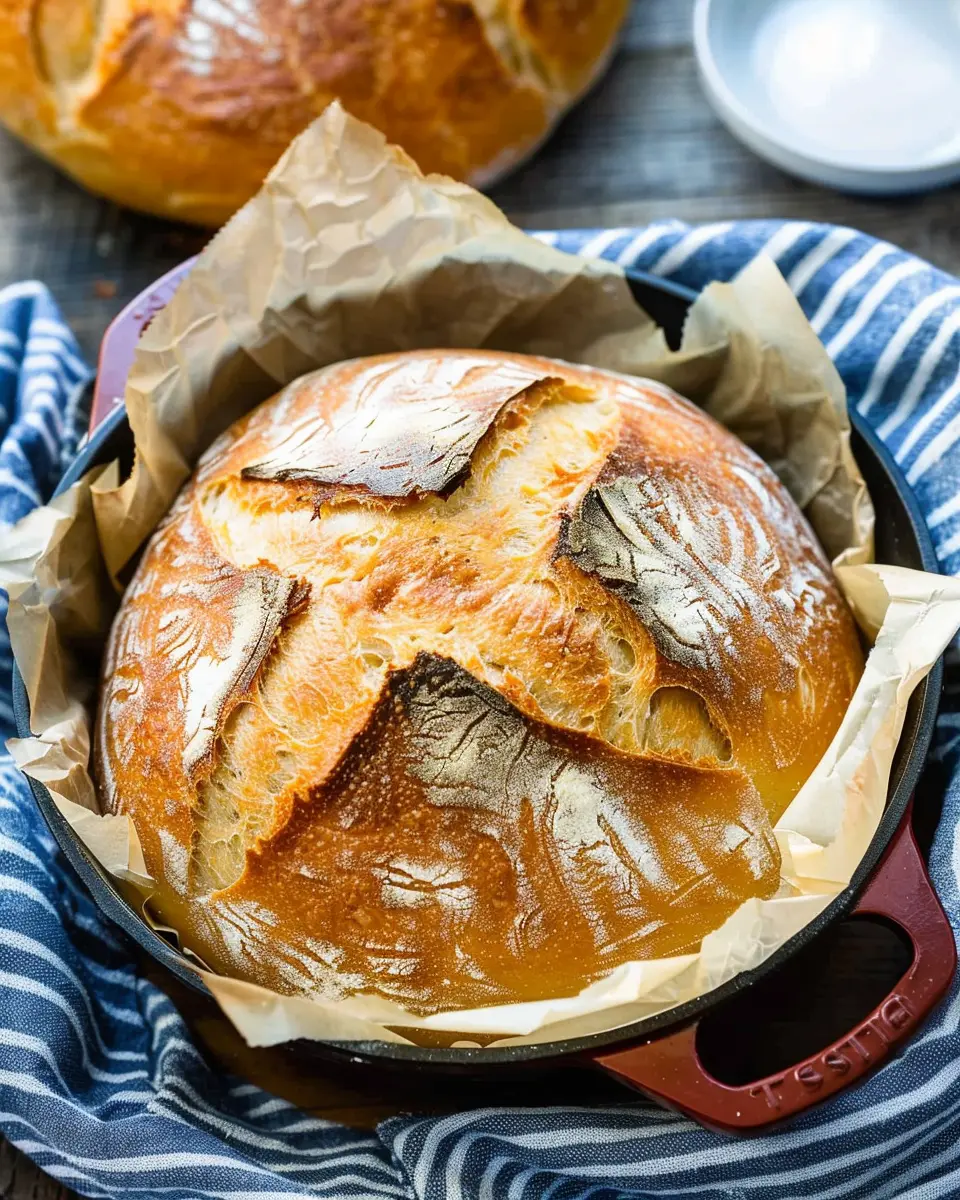
Have you ever craved the warm, crusty elegance of French bread right from the oven, but found yourself overwhelmed by the thought of making it from scratch? Enter Dutch Oven French Bread! This remarkable method allows even novice bakers to create an artisanal loaf that’s both visually stunning and deliciously satisfying.
So, what exactly is Dutch Oven French Bread? In essence, it’s a simple yet transformative way to bake bread. By using a Dutch oven, you can easily trap steam, creating that perfect crust while keeping the inside tender and fluffy. The best part? You don’t need any fancy equipment—just a hearty mix of flour, water, yeast, and salt. It’s a straightforward process that yields mouthwatering results.
Why should you consider giving it a try? Here are a few compelling reasons:
-
Freshly Baked Delight: There’s nothing like the scent of fresh bread wafting through your kitchen. Your friends and family will be utterly impressed when you pull a golden loaf from the oven, especially when paired with a spread of creamy butter or a savory soup.
-
Versatile Creativity: This recipe forms a wonderful base for creativity. You can infuse your dough with herbs, garlic, or even sun-dried tomatoes. The possibilities are endless!
-
Healthier Options: By making your own bread, you have full control over the ingredients. Aim for whole grain flours or even add in seeds for increased nutritional benefits.
-
Stress Relief: Kneading dough can actually be quite therapeutic! It’s a simple, yet rewarding process that allows you to unplug from the hustle of daily life.
If you’re looking for an engaging culinary adventure or simply want to impress your guests at your next gathering, Dutch Oven French Bread is a perfect choice. For practical tips and detailed steps, check out this excellent guide on bread-making, where you can dive deeper into the art of baking.
Stay tuned for the full recipe that will help you turn your kitchen into a bakery!
Ingredients for Dutch Oven French Bread
Essential ingredients for the perfect loaf
Creating the ideal Dutch oven French bread requires just a few simple ingredients, which you likely already have in your pantry. Here’s what you’ll need:
- All-purpose flour: About 4 cups, this is the backbone of your loaf.
- Warm water: Approximately 1⅓ cups, essential for activating the yeast.
- Active dry yeast: Use 2¼ teaspoons (one packet) for that perfect rise.
- Salt: 2 teaspoons to enhance flavor and strengthen the dough.
- Optional: A tablespoon of sugar can help if you prefer a slightly sweeter loaf!
With these basic ingredients, you’re already on your way to baking a beautiful loaf. If you’re new to bread-making, don’t worry; there are plenty of resources online, such as Breadtopia, offering tips and tricks tailored for beginners!
Helpful kitchen tools to have on hand
Aside from the ingredients, a few kitchen tools can make the process smoother:
- Dutch oven: This is crucial for achieving that crispy crust and evenly cooked interior.
- Mixing bowl: For combining your ingredients.
- Wooden spoon: Perfect for mixing your dough without too much mess.
- Lame or sharp knife: To score your dough before baking.
Having these tools will simplify the process and help you create a bakery-worthy Dutch oven French bread at home! If you’re looking to invest in good gear, check out Serious Eats for reliable recommendations. Happy baking!
Step-by-step Preparation of Dutch Oven French Bread
Making Dutch oven French bread at home is an incredibly rewarding experience. It can fill your kitchen with the warm, comforting aroma of freshly baked bread, turning any day into a special occasion. Let’s dive into the steps you need to follow to master this art.
Mixing the Dough
Start by gathering your key ingredients: all-purpose flour, warm water, yeast, and salt. In a large mixing bowl, combine the yeast with warm water (about 110°F). Let it sit for about 5-10 minutes until it becomes frothy—this lets you know your yeast is active and ready to do its job. Next, stir in the flour and salt until the mixture forms a shaggy dough. You can find more tips on mixing techniques for bread dough at King Arthur Baking.
Kneading Techniques
It’s time to get your hands a little floury! Transfer the shaggy dough onto a lightly floured surface. If you’ve never kneaded before, here’s a breakdown: use the heel of your hand to push the dough away from you, fold it over, then rotate it a quarter turn and repeat. Aim for about 8-10 minutes of kneading until you have a smooth, elastic dough. If it’s too sticky, sprinkle a bit of flour as needed, but try to avoid adding too much—too much flour can lead to dense bread!
First Rise: Finding the Perfect Spot
Once your dough is well-kneaded, it’s time for its first rise. Place it in a clean bowl and cover it with a damp cloth or plastic wrap. The goal is to let it double in size in a warm, draft-free spot, which usually takes about 1-2 hours. An oven light turned on or a clean microwave (with a dish of hot water) can serve as an excellent warm area for this process.
Shaping the Loaf
After the dough has risen, gently punch it down to release any air bubbles. Transfer it to a floured surface and shape it into a round loaf. You can also opt for an oblong shape if you prefer that look. Use your hands to tuck the edges underneath, creating a taut surface. This process is essential to achieving a great structure in your Dutch oven French bread.
Second Rise and Preheating the Oven
Now that your bread is shaped, it’s time for the second rise. Place the shaped loaf on a piece of parchment paper, cover it loosely, and let it rise for another 30 minutes while you preheat your oven to 450°F. If using a Dutch oven, place it inside the oven to preheat as well. This will create a perfect baking environment for your bread.
Slashing and Dusting the Dough
Before placing your loaf in the oven, make sure to give it a little personality! Use a sharp knife or a bread lame to score the top of your loaf (this allows steam to escape and helps create a beautiful crust). Dust the top lightly with flour for that artisan look—your bread will thank you!
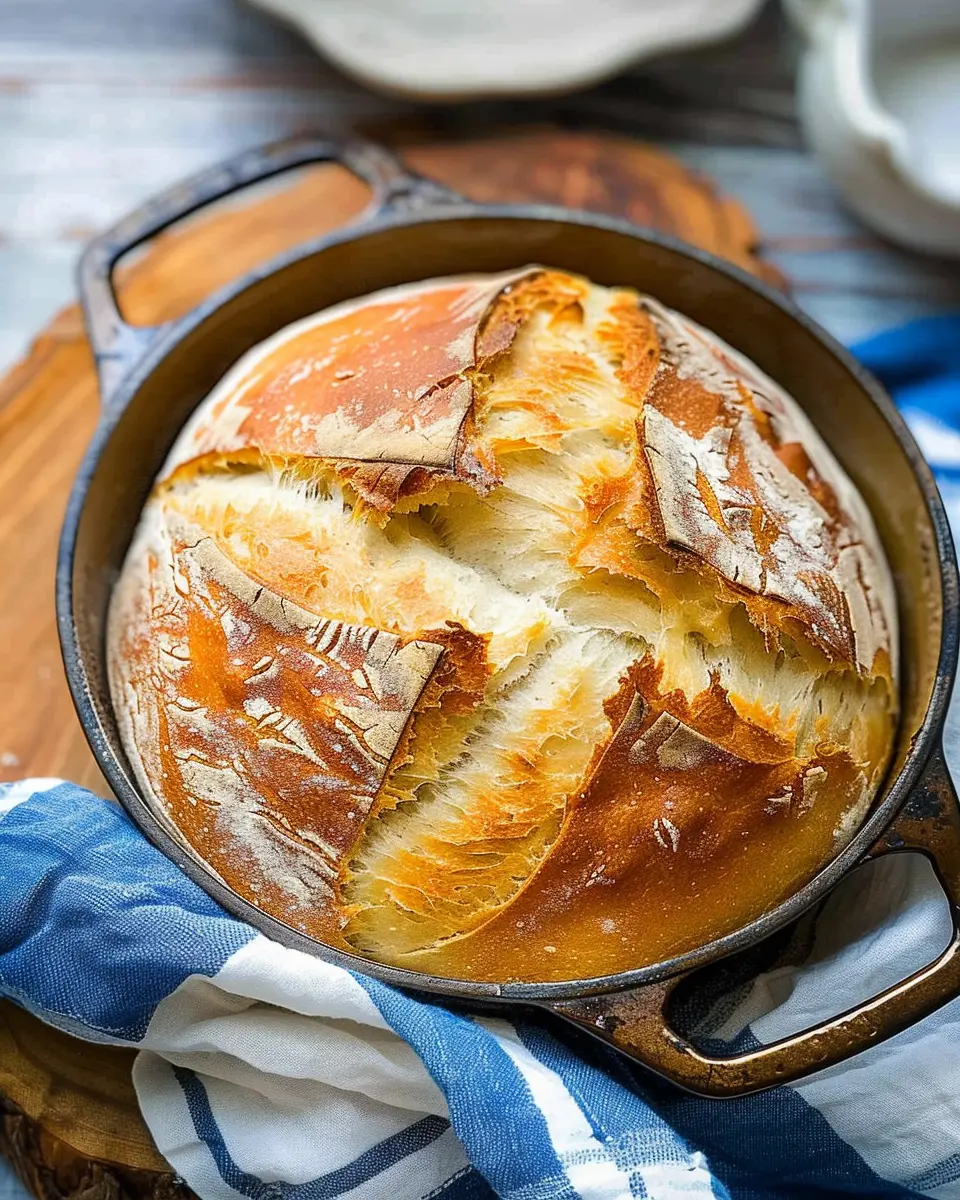
Baking for a Golden Crust
Carefully remove the hot Dutch oven from the oven. Using the parchment paper, lift your dough and place it inside. Cover with a lid and bake for 30 minutes. After that, remove the lid and let it bake for another 10-15 minutes until it has a beautiful golden-brown color.
Cooling and Preparing for Slicing
Once your bread is beautifully baked, carefully transfer it to a wire rack to cool. This step is vital; cutting into the bread too soon can result in a gummy texture. Let it cool for at least 20 minutes before slicing. And there you have it—a beautifully crafted Dutch oven French bread, perfect for sandwiches or toasted with a smear of butter.
Enjoy your baking adventure, and don’t forget to share your delicious creations with friends and family!
Variations on Dutch Oven French Bread
When crafting your Dutch oven French bread, the possibilities are endless! Let’s explore a few variations to elevate your baking experience.
Adding Flavor: Herbs and Garlic
Herbs and garlic are magical when it comes to enhancing flavors. Imagine fresh rosemary, thyme, or even a sprinkle of oregano in your dough. Just a couple of tablespoons can transform your loaf into a fragrant masterpiece! Minced garlic adds a robust aroma and flavor – don’t be shy! You could also try incorporating garlic powder for a subtler punch. Both herbs and garlic can add a delicious crust to your loaf that blends beautifully with the soft interior.
Cheese Variations: Incorporating Shredded Cheese
Who can resist the allure of ooey-gooey cheese? Adding shredded cheese like mozzarella or cheddar can take your Dutch oven French bread to a whole new level. Just fold in a cup or so of cheese with the dough, or sprinkle it on top before the final rise. The result? A crispy, cheesy crust that makes a perfect pairing for soups or a stand-alone snack.
Experimenting with Whole Wheat Flour
If you’re looking to add a bit of nutrition to your bread, consider substituting part of the all-purpose flour with whole wheat flour. This not only increases fiber content but also imparts a slightly nutty flavor. Start by replacing a third of the all-purpose flour with whole wheat flour to see how you enjoy the change. You might love the heartiness that it brings to your Dutch oven French bread.
For more baking inspiration, check out popular resources like King Arthur Baking or America’s Test Kitchen. Don’t be afraid to get creative in your kitchen. Happy baking!
Cooking Tips and Notes for Dutch Oven French Bread
Troubleshooting Common Dough Issues
Making Dutch oven French bread should be a delightful experience, but sometimes the dough can be tricky. If your dough is too sticky, add a bit more flour gradually. Alternatively, if it’s too dry, a sprinkle of water might do the trick. And remember, it’s okay if your dough isn’t perfect—practice makes progress!
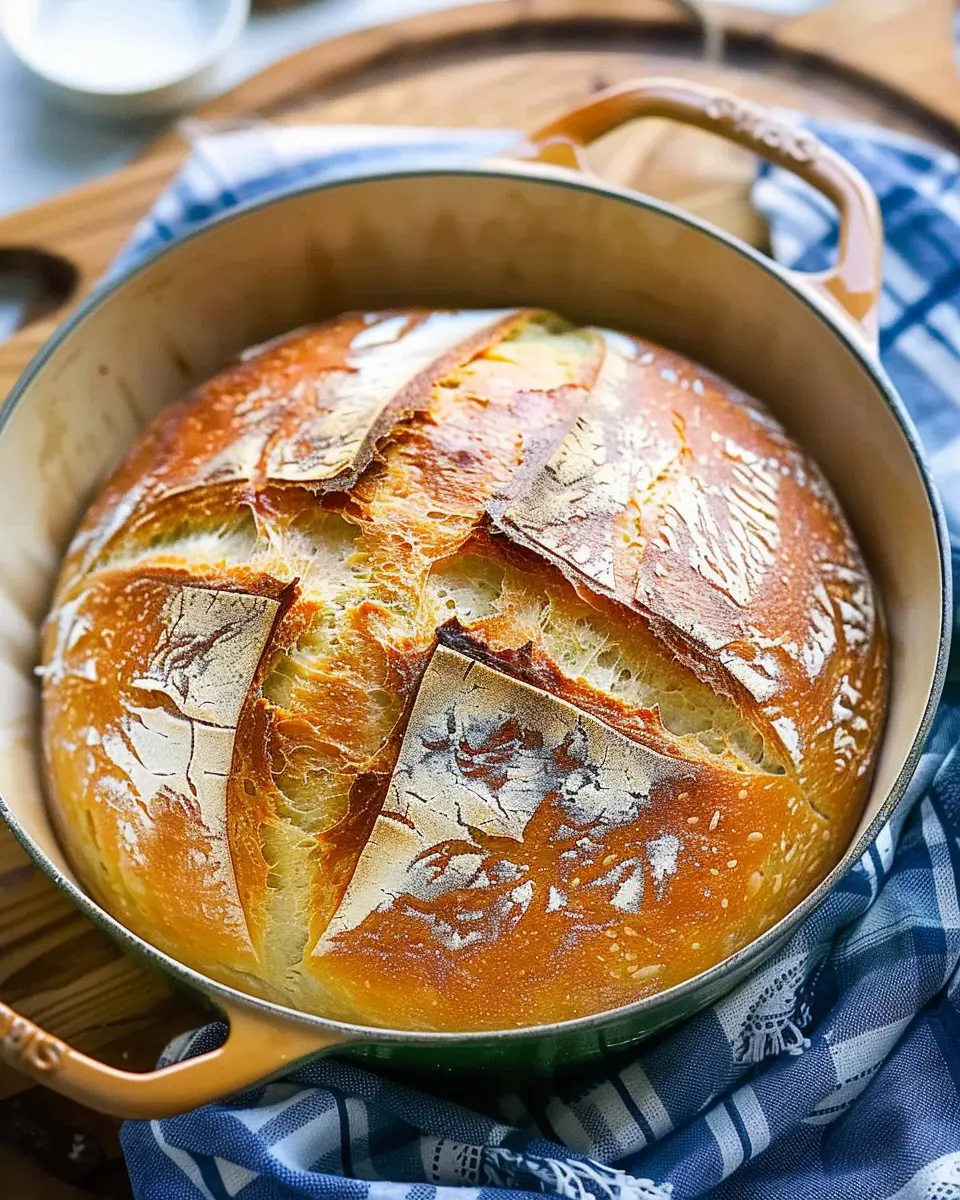
Ensuring a Crispy Crust
For that deliciously crispy crust we all love, preheat your Dutch oven while you’re waiting for your dough to rise. This creates a steamy environment as you bake, which helps achieve that beautiful golden crust. Spritz the dough with water right before covering it with the lid to enhance the steam effect.
Best Practices for Storing Leftover Bread
If you have any leftover Dutch oven French bread, store it in a paper bag at room temperature to maintain its crispy exterior. If you want to keep it for longer, consider freezing slices wrapped in plastic, ensuring you can enjoy fresh-tasting bread whenever you crave it. For additional tips on bread storage, check out resources like The Kitchn.
With these tips, your baking journey will be smooth and satisfying—happy baking!
Serving Suggestions for Dutch Oven French Bread
Pairing with Soups and Salads
Nothing complements a warm bowl of soup quite like freshly baked Dutch oven French bread. The crusty exterior and soft interior make it ideal for dipping. Think of pairing it with a classic tomato basil soup or a hearty minestrone. For salads, consider serving it alongside a zesty arugula or quinoa salad. The bread can soak up any dressing or broth, creating a delightful medley of flavors.
Creating Delicious Sandwiches
Have you ever tried making a sandwich with your homemade Dutch oven French bread? The possibilities are endless! You can stack it with slices of turkey bacon, chicken ham, and fresh veggies for a satisfying lunch. Or go for a simple yet delightful combination of avocado and roasted vegetables. The rustic flavor of the bread enhances everything you put between the slices, truly elevating your sandwiches.
Enjoying with Dips and Spreads
For an easy appetizer or snack, slice your Dutch oven French bread and serve it with various dips and spreads. Think creamy hummus, savory pesto, or a classic cheese spread. Arranging these on a platter adds a sophisticated touch to gatherings. Your friends will love the combination of flavors and textures, making it the perfect starter for your next get-together.
To explore more about various bread pairings, check out King Arthur Baking. Your culinary creativity is the only limit!
Time Breakdown for Dutch Oven French Bread
When it comes to making dutch oven french bread, timing is everything! Here’s a quick guide that will help you stay organized in the kitchen:
Preparation time
Approximately 15 minutes is all you need to mix your ingredients and get everything ready. It’s as simple as combining flour, yeast, and water!
Rising time
Expect to let your dough rise for 1 to 2 hours, depending on your kitchen temperature. This important step allows the flavors to develop and the bread to gain its airy texture.
Baking time
Once the dough has risen, baking it in the dutch oven takes about 30 to 35 minutes. This method creates a crusty exterior while keeping the interior soft and delicious.
Total time
In all, from start to finish, you’re looking at about 2 to 2.5 hours to make your dutch oven french bread. It may seem lengthy, but most of that is hands-off rising time!
Feel free to explore more tips on baking bread for a deeper understanding of techniques and enhancements!
Nutritional Facts for Dutch Oven French Bread
Calories and key nutrients
When you whip up a delicious loaf of dutch oven french bread, you might be curious about what it’s bringing to the table, nutrition-wise. A typical slice of this artisan bread contains around 80-100 calories. It’s primarily made up of carbohydrates, providing your body with quick energy. You’ll also find proteins and minimal fats, making it a balanced choice for those looking for a wholesome addition to their meals.
Moreover, whole wheat or artisan flours can add fiber and essential nutrients. You can read more about the benefits of incorporating whole grains into your diet through resources like the USDA’s dietary guidelines.
Understanding serving size
Serving sizes can play a crucial role in enjoying your dutch oven french bread without overindulgence. Generally, one serving is about one slice, which is perfect for pairing with soups or salads. If you’re feeling generous, two slices can serve as a satisfyingly hearty side.
Be mindful, though: enjoying your bread with a spread of olive oil or artisanal butter can enhance flavor, but it’ll also slightly increase the calories. Balance is key. So, how do you choose? A good rule of thumb is to listen to your body’s hunger cues and practice portion control.
In essence, dutch oven french bread can be part of a healthy diet, especially when enjoyed in moderation and paired with nutrient-rich foods. For more information on healthy eating patterns, the Academy of Nutrition and Dietetics offers fantastic insights.
FAQs about Dutch Oven French Bread
Can I use all-purpose flour instead of bread flour?
Absolutely! While bread flour gives a slightly chewier texture due to its higher protein content, all-purpose flour will work just fine for your Dutch oven French bread. The texture may be a bit softer, but it can still yield a delicious loaf. Many bakers opt for all-purpose flour for everyday baking, and it’s an excellent choice if that’s what you have on hand!
What if I don’t have a Dutch oven?
No worries! If you don’t have a Dutch oven, you can use a baking stone or any heavy oven-safe pot with a lid. Even a covered casserole dish can work in a pinch. The key is to create a steamy environment while the bread bakes — you can achieve this by adding a few ice cubes to the bottom of your oven for steam (but be cautious of hot steam!).
How should I store the bread after baking?
To keep your Dutch oven French bread fresh, allow it to cool completely on a wire rack. Then, wrap it in a clean kitchen towel or store it in a paper bag. If you have extra bread, slice it up and store it in an airtight container at room temperature for a couple of days, but it’s best enjoyed fresh!
Can I make this bread in advance?
Yes, you can prepare the dough ahead of time! Allow it to rise as instructed, then refrigerate it in a covered bowl for up to 24 hours. This slow fermentation adds fantastic flavor to your French bread. When you’re ready, just take it out, shape it, and let it come to room temperature before baking.
For more tips on bread-making and techniques, check out King Arthur Baking.
Conclusion on Dutch Oven French Bread
Final thoughts on making your own bread and its benefits
Crafting your own Dutch Oven French Bread is not just a culinary experiment; it’s an invitation to enjoy the simple pleasures of homemade goodness. The aroma filling your kitchen is a delightful precursor to the warm, crusty loaf awaiting you.
Making your own bread offers substantial benefits, like controlling ingredients and reducing preservatives, which is often found in store-bought options. Plus, there’s a certain satisfaction in slicing into a loaf you’ve nurtured through each step. It’s a rewarding blend of science and art, bringing joy to your meals, whether served alongside a hearty soup or enjoyed as a stand-alone snack. Why not give it a try? Check out King Arthur Baking for more tips on bread-making.
PrintDutch Oven French Bread: The Best Homemade Delight for All
Learn how to make the best Dutch Oven French Bread with this easy recipe that yields a crusty loaf with a soft inside.
- Prep Time: 15 minutes
- Cook Time: 45 minutes
- Total Time: 12 hours 60 minutes
- Yield: 1 loaf 1x
- Category: Bread
- Method: Baking
- Cuisine: French
Ingredients
- 3 cups all-purpose flour
- 1 ½ teaspoons salt
- 1 teaspoon active dry yeast
- 1 ½ cups warm water
Instructions
- In a large bowl, mix flour, salt, and yeast.
- Add warm water and stir until combined.
- Cover with a cloth and let rise for 12-18 hours.
- Preheat your oven to 450°F.
- Shape the dough into a ball and let it rest for 30 minutes.
- Transfer to a hot Dutch oven and bake for 30 minutes.
- Remove the lid and bake for an additional 15 minutes.
- Let cool before slicing.
Notes
- For a crispier crust, add steam to the oven during the first few minutes of baking.
Nutrition
- Serving Size: 1 slice
- Calories: 120
- Sugar: 0g
- Sodium: 300mg
- Fat: 1g
- Saturated Fat: 0g
- Unsaturated Fat: 0g
- Trans Fat: 0g
- Carbohydrates: 24g
- Fiber: 1g
- Protein: 4g
- Cholesterol: 0mg
Keywords: Dutch Oven French Bread, homemade bread, baking, yeast bread